Block Masterclass Series: Double Wedding Ring
Although patterns and designs reminiscent of the Double Wedding Ring (DWR) go back hundreds of years, it wasn’t until the 1920s that the first pattern was printed in America. In the following decade, and in keeping with the ‘make-do’ ethos of the day, many DWR quilts were made using small scraps and feedsack prints. They were given away as traditional wedding gifts, a symbol of enduring love for young couples.
In just under 100 years, the traditional quilt design has evolved as quilters add their creative inspiration and new techniques have been developed. While still maintaining the appearance of the interlocking rings, diverse types and sizes can create a design that’s unique to the taste of the quilter.
Despite this creative confidence, the DWR pattern still presents as complex; it is one that puts off beginners as it includes a lot of building units and curved piecing. Just over three decades ago, in my early 20s, I joined a class by (then well-known tutor) Noreen Dunn to make a Double Wedding Ring quilt using the method that Mary Ellen Hopkins (also very well known) had shared in her (then) recently published book. I hadn’t been quilting long enough to be wary of curves, so when I was told this is how you do it, I just did it. Fortunately for me, my curved piecing turned out okay. It certainly helped that I had a patient teacher peering over my shoulder, giving me guidance. At the time, the technique was ‘modern’ and Mary Ellen’s book included the templates and instructions needed to make this curved pieced beauty. Back then, many people were put off by sewing curves. The pattern I used in no way diminished the need for sewing curves, but there were ways that were easier than in the past, including string piecing and rotary cutting. The arcs were pieced first, then they were stitched to the melons — there is the first curved seam! These arc/melon units were then stitched between the larger, central (concave square) sections, more curves, matching notches along the way, and easing seams.
The four-patch centre joining squares were pieced and inserted later — now that was tricky! The now ‘modern’ method includes sewing these centre squares to either end of one of the pieced arcs (Arc B) before they are sewn to a melon — see Diagram 2. A noteworthy improvement to the making of this pattern is to make it with foundation piecing techniques. The Double Diamond Wedding Ring project in this issue is from the book, Adventures in Paper Piecing & Design by Sarah Elizabeth Sharp. It is primarily a paper piecing how-to book, however Sarah also shares the instructions for making it with the DWR templates.
As a side note: I have not finished my Double Wedding Ring quilt — it is in the UFO box. At the time, I was making it to celebrate my then-recent wedding. When my (now 35-year-old) daughter married 10 years ago, I was tempted to complete it. Recently, my (33-year-old) son was married … I don’t think they’d like the colours.
I am sure I will get it done soon! We are all friends here, no judging, okay?
Templates
First you need templates with which to cut out fabric shapes ready to sew the blocks. You can work from templates you make yourself (with cardboard or template plastic) by either drafting your own block, or by printing a pattern and copying it. (In this issue you will find patterns for DWR on the Pattern Sheet.) Or you can purchase acrylic templates to cut your shapes.
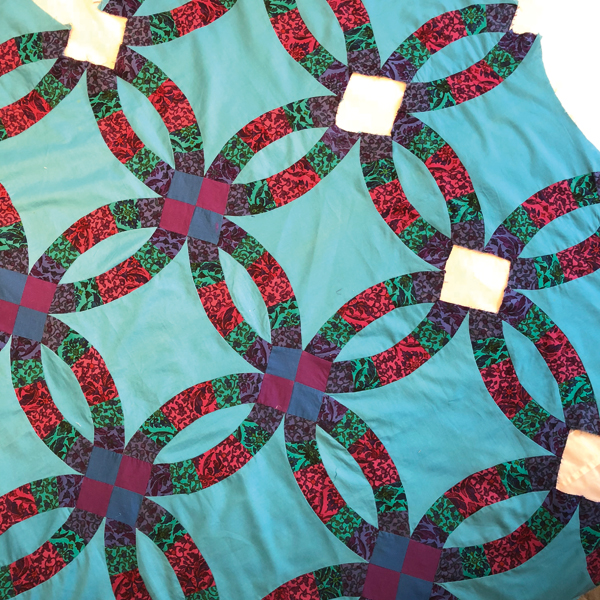
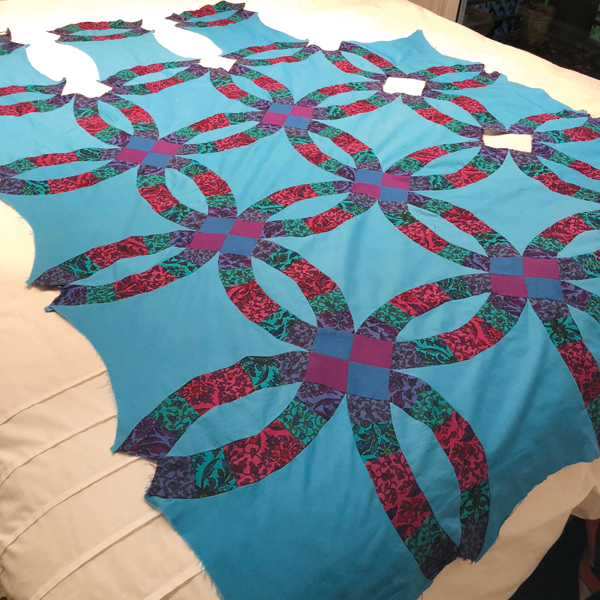
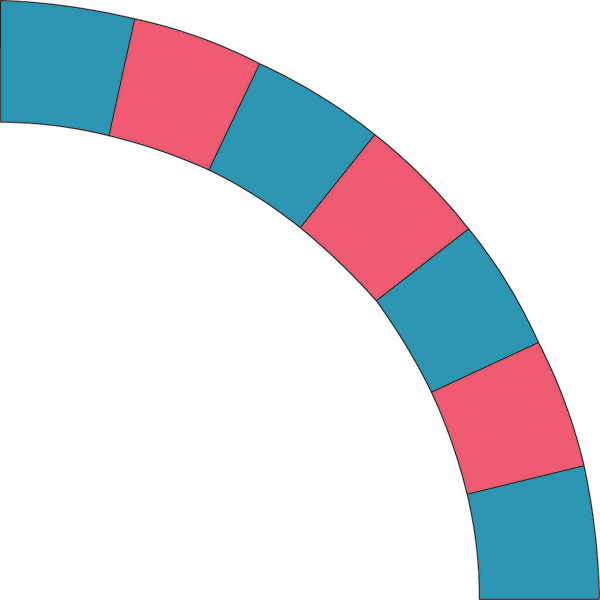
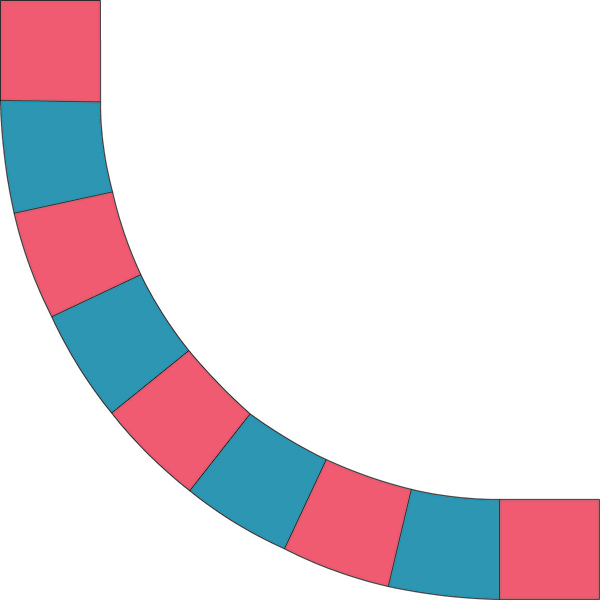
For a traditional block you need a Centre (concave square), four Melons, eight Arc A, and eight Arc B. From a ‘block’ made from four squares you will need for each square two A arcs, two B arcs, a melon, and a background.
Piecing with paper foundations
This is a basic overview of the technique of foundation paper piecing. The patterns are printed onto photocopier paper.
1 Cut pieces of fabric to roughly, and generously, cover each numbered pattern area.
2 Place a piece of fabric over section 1 with the wrong side of the fabric and the wrong side of the printed pattern matching. The fabric needs to overlap all of section 1. Pin in place, or place a dab of glue stick to hold.
3 To be certain, hold the paper up to a light source to make sure the fabric more than overlaps the outline for section 1.
4 Then, place the fabric for section 2 on top so that the right sides of both fabrics are facing (the wrong side of the second fabric is facing you). Check the pattern on the other side of the paper — one straight edge of the new fabric should overlap the line that separates sections 1 and 2.
5 Shorten the machine stitch length to 1.0 or 1.3 (this makes it easier to pull away the paper later). Next, stitch along this line between sections 1 and 2. After you do, you’ll want to make sure that the second fabric, when folded back over that line, will completely cover section 2.
6 Continue following the numerical order on the patterns in the same manner.
Piecing by hand or machine
Arcs can be one colour, two colours, six, seven, however many you wish to make them. Unless you have a one-piece arc, the small pieces are sewn together with straight seams, either by hand or machine. It is when you come to sewing the pieced arcs to the melons that you encounter curved piecing.
1 Cut the pieces required for Arc A. Sew the pieces together, see Diagram 1.
2 Cut the pieces required for Arc B, plus one ‘centre’ piece for each end. Sew together as shown in Diagram 2.
3 Press the arcs. Then fold the arc to find the centre of the raw edge, and finger press to crease. Fold the melon to find the centre on both edges, and crease.
4 Next pin Arc A to the melon. With right sides together, with the arc (concave edge) on top of the melon (convex edge), place a pin at the matched creased centre. If you wish to add more pins, then crease the quarter points on both pieces too and match and pin these.
5 Sew the two together, by hand or machine, with the arc (concave) on top. Sew slowly and watch the seam. Stop, with the
needle down, to check on your progress if you need to.
6 Using the same method, pin Arc B (note that Arc B is longer than Arc A) to the other side of the melon and stitch. Do not press these units.
7 Make up a batch of arc/melon units. The number you require will depend on the size of the quilt you wish to make.
8 Once you have the arc/melon units you can sew them together to the large concave centres, again matching centre and quarters along the raw edge to ensure the curves will sit correctly.
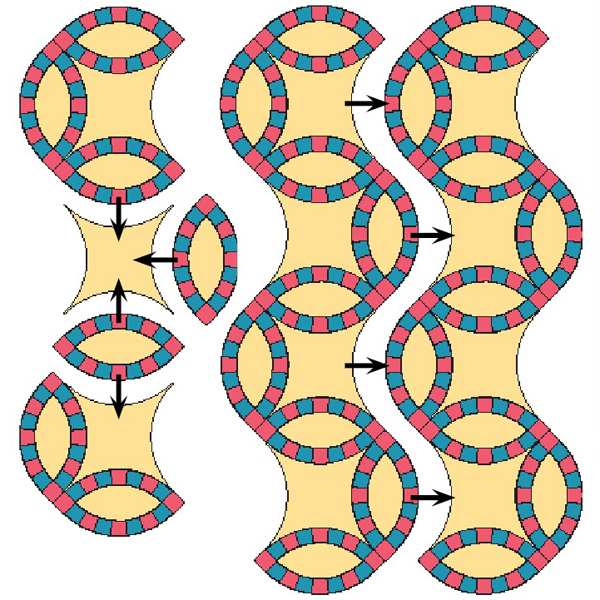
9 See the layout diagrams for how to stitch the rows together either diagonally or up and down.
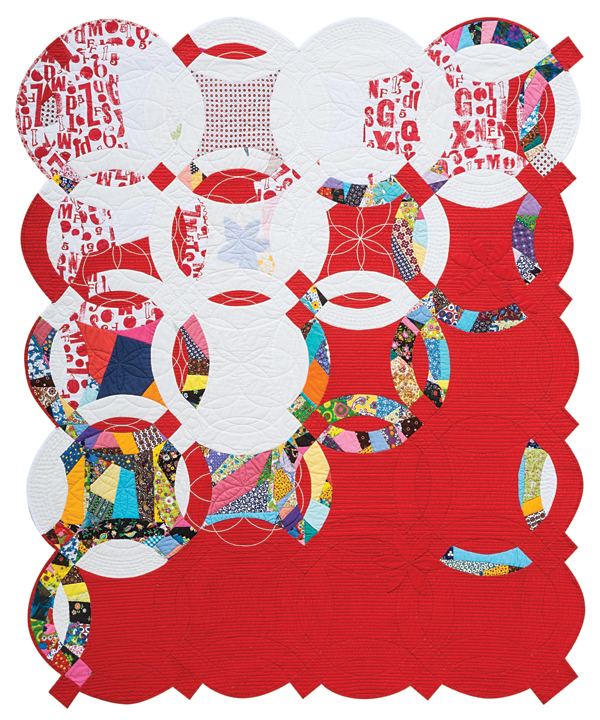
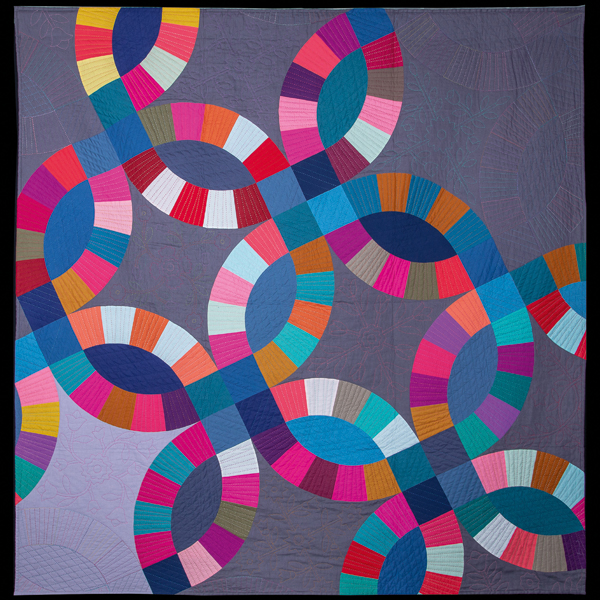
Gallery
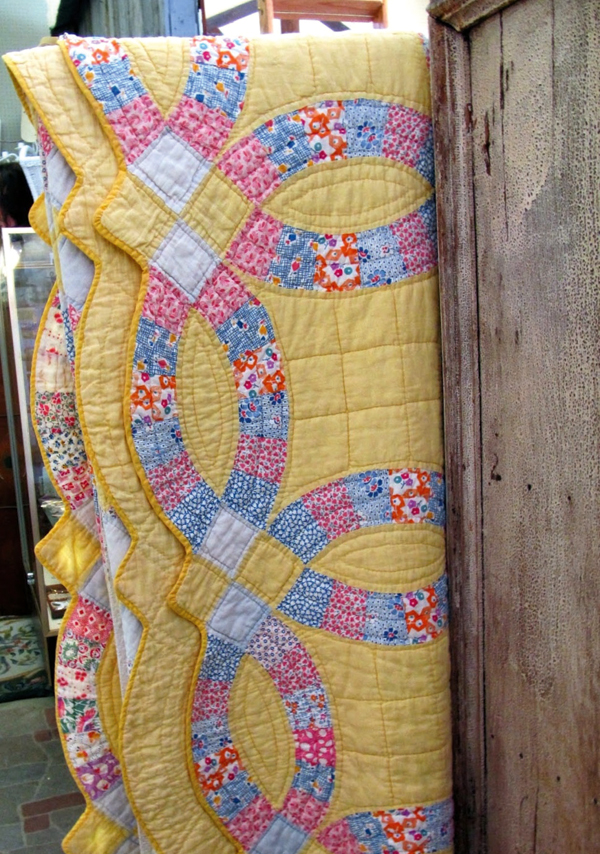
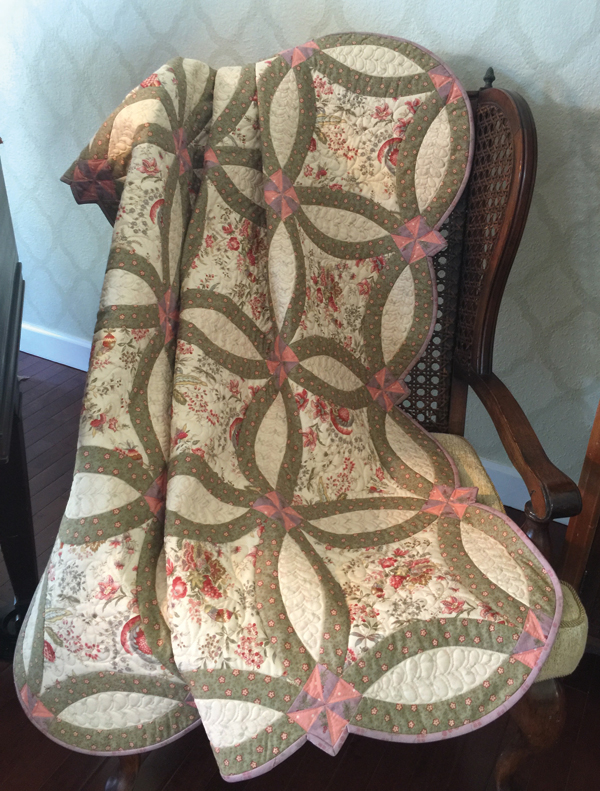
Traditional Double Wedding Ring quilts such as these, feature the scalloped edges of the arcs, plus the central four-patches to add even more interest to the quilt’s finish.
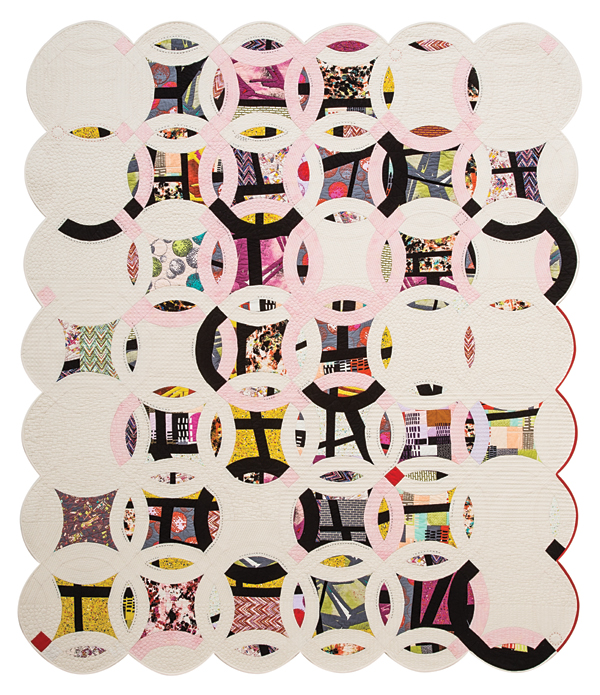
The design principles of modern quilting can be seen in the two quilts above. Victoria Findlay Wolfe undertook a journey of exploring DWR quilts, and in 2015 her book Double Wedding Ring Quilt – Traditions Made Modern showcased 11 innovative patterns based on this classic.
Liesel Moult is an award-winning Australian quilter who also likes to dabble in the effects of applying an unconventional approach to a traditional pattern.