
Tutorial: How to frame hand-embroidery
MATERIALS AND TOOLS
- Picture frame
- Cardboard (1.5mm thick)
- Crafts knife
- Cutting mat
- Needle and sewing thread
Step 1

Disassemble the frame. Depending on the frame, there will be a glass or acrylic protection. Some embroidery, such as Ribbon embroidery, is too dimensional to be framed under glass. However, no protection means dusting problems, so use one if your embroidery is flat enough.
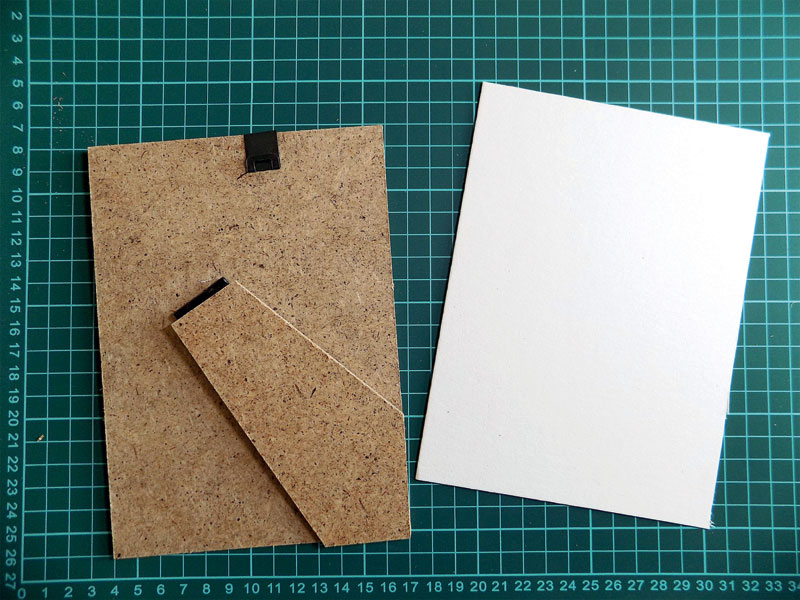
Step 2

Trace around the backing onto the cardboard. Using a craft knife and ruler and, working on a cutting mat, cut the rectangle.
Be delighted by Vicki Porter’s embroidery pattern!
Step 3
When the fabric is mounted on the cardboard it will add extra mm to the width. Don’t worry, it will still be able to fit in the frame – just make sure the cardboard is not any larger than the actual backing.
Step 4

Place the worked needlework on top of the cardboard and centre it. To ‘save’ the position of the fabric you can fold the edges under the cardboard and fix it in place with paper clips. Leave it like that for a while until the fabric ‘memorises’ the creases.
Step 5

Flip the cardboard cutout together with the fabric face down. Now fold the corners. First, fold each corner at 90° (*image 5*), then fold each of the sides at 45° to get diagonal creases (*images 6-7*). It’s okay if the folds are not perfect – just bring them close enough and stitch them together using an invisible stitch. Now your needlework is put in the corner ‘pockets’. But the sides are still baggy, so we will take care of them.
Create this exquisite botanical embroidery pattern designed by Irene Junkuhn
Step 6

Using a needle and sewing thread, start lacing the sides. Pull the thread as tight as you can without bending the cardboard.
TIP: If the ground fabric of your needlework tends to fray, it’s better to strengthen the edges before lacing it.

Step 7

Place the frame face down. Put the glass or Perspex into it, then firmly press the mounted cardboard in place. Replace the backing.

