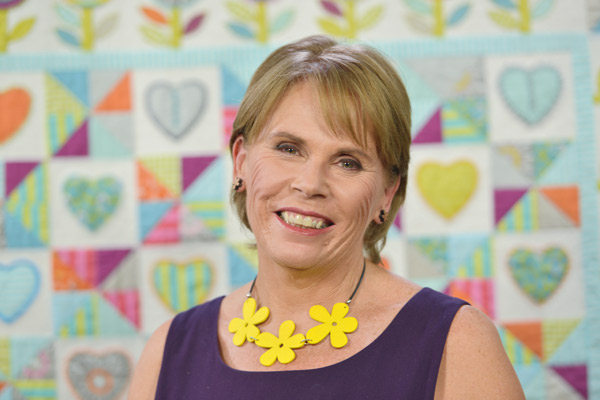
Fancy Feathers With Deborah Louie
Well, I have decided that after more than 10 years of writing this column, it is time to finish. This is for no other reason than I wish to spend more time creating new quilts for teaching at workshops, filming more online classes and writing more of my books.
My time with Quilters Companion magazine has been wonderful — particularly when I am at a quilt show somewhere around Australia and New Zealand and you, the reader, comes up, says hello and chats about their quilting. I have loved that you have trusted my advice and enjoyed domestic machine quilting along with me.
Domestic machine quilting has come a very long way over the last 10 years — new machines, new battings, better threads. There is something for everyone. Whether it’s simple straight lines with thick thread and using your walking foot, stitching elaborate feather designs with shiny polyester threads or using rulers to create quilting designs on your domestic machines previously only thought possible by long arm quilters, I have tried to cover it all for you.
I have always been dedicated to sharing my knowledge and I look forward now to writing more books and on my blog. I would like to thank my two editors — the lovely Clare Mooney and Michelle Marvig. Clare, you trusted me when I first asked if I could write a regular column for you and was amazed when you said, “Sure, let’s give it a go.” Thank you. Recently, my very good friend Michelle Marvig took over the reins as creative director and Michelle, I thank you for your encouragement. Look out for more of Michelle and Deborah Louie together in the future — we make a great team!
And to you, the readers, thanks — it’s been wonderful.
Now, back to Fancy Feathers, the fifth in the series of feather quilting. If you have been following the previous four feather articles I have written, you will be aware of the many styles and types of feathers that are fashionable now. If you work through each style individually, you may possibly come up with a style that really feels comfortable to you when you are free motion quilting. I have said this many times before so it’s worth repeating: trust your own style and trust your own skills. Your quilting does not have to look like anyone else’s. Have fun, relax, drop your shoulders while quilting and enjoy yourself. Be brave, experiment, and then you will find your own quilting style.
For Fancy Feathers, whether they consist of the top and tail method, open feather, curly or straight style, they are just a little more decorated — more detail inside and around the plumes. Sometimes it is just more lines or more elements inside, for instance a leaf, flower shape or tendrils.
For this article I have quilted some ideas for you. Please refer to the previous articles from QC#87 to QC#89 for direction of stitching and general guidance for quilting feathers. The samples have been stitched on a Bernina 770 with a size 80 top stitch needle, using Matilda’s Own wool/polyester batting for fullness, giving the feathers lots of lift and body. A low loft batting like cotton does not enhance the feathers as well as a high loft batting. I have Mettler Polysheen thread (my favourite) in the needle, as it is a flat shiny thread that does not build up when backtracking.
To set up your sewing machine to free motion quilt, follow these instructions:
- Open-toe free motion foot on the machine
- Feed dogs disengaged (dropped)
- Stitch length to 0.
Bring up the bobbin thread to the top and start slowly moving the fabric under your hands, with a medium-speed needle. Warm up on a scrap piece of fabric for a while until you are feeling comfortable.
Design a stunning Jacaranda-inspired quilt with Emma How
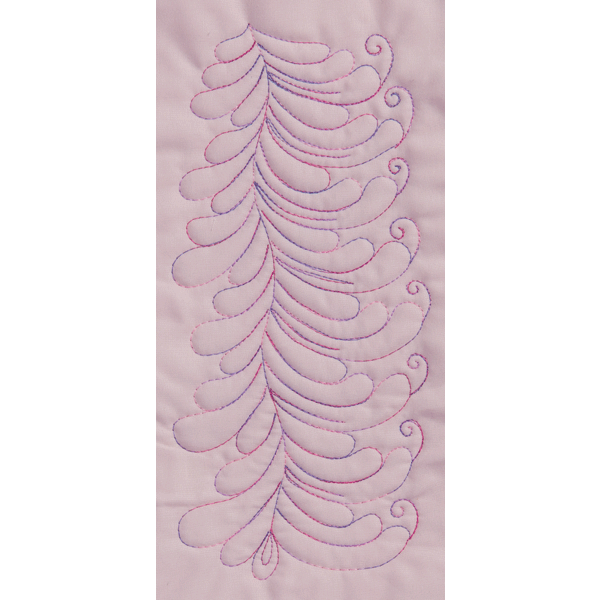
Sample 1
Sample 1 is of a soft curved plume feather where I have stitched the spine down first, then feather left and right on the way up. The main outer section of the feather was stitched first, then the internal lines added inside the basic shape.

Sample 2
For Sample 2, I traced a heart-shaped template as the starting point. I stitched around the outside edge first, then added the same soft curved plumes inside, working right to left, then added the larger plumes and tendrils in opposing directions on the outside. Very sweet indeed. Please note that I relaxed while stitching and I was not even thinking that the feathers had to be the same size, in width or length. I really just let them have their way and completely enjoyed stitching this heart design. Free form is being relaxed and letting it all happen.

Sample 3
For the triangle-shaped design in Sample 3 I did the same, stitched the centre spine from top to bottom then plumed left and right, working up to the top again.

Sample 4
Then I thought, “Why do they have to be the same both sides?” The result can be seen in Sample 4. This sample has longer plumes and the tendrils on the right-hand side. The feathers are stacked in groups of three and the left side only has the group of three plumes, in a smaller, simpler version.
Learn how to quilt with Dawn Hay’s beautiful Daisy Dreams Pattern
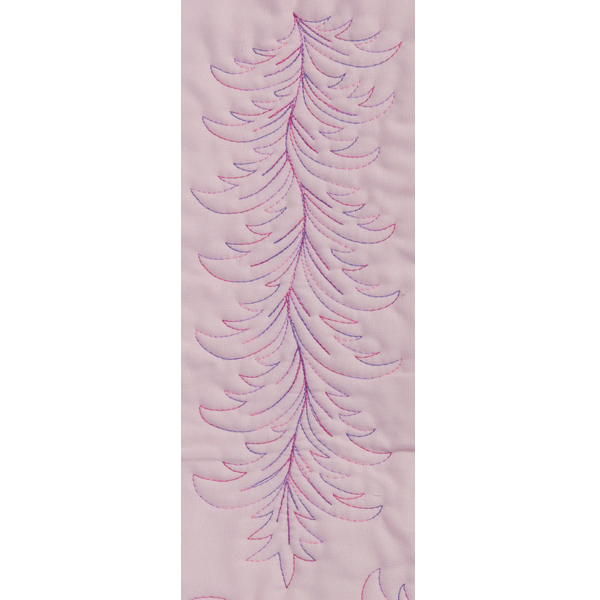
Sample 5
The sharp-edged feather Sample 5 gives a strong feel to a quilt, and is perhaps perfect for your male family members, on the borders or large sashings.
Sample 6
For Sample 6 I decided to add tendrils to the sharp-edged feather to create an open, all-over design. This is an interesting concept as the curls soften the sharpness of the original pattern in Sample 5.
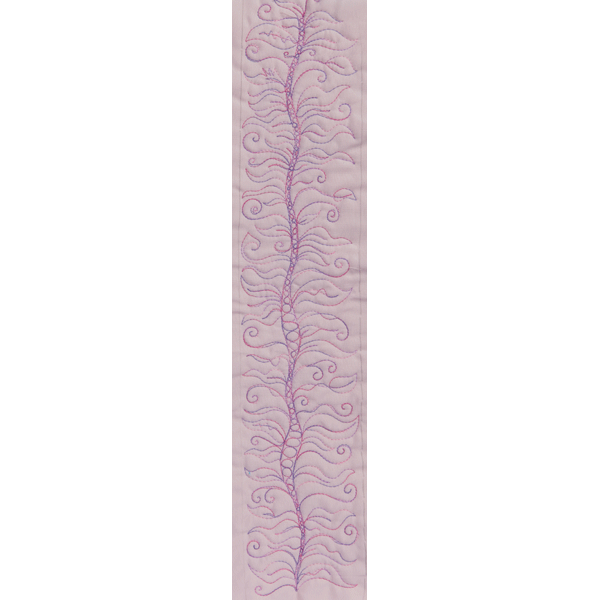
With the addition of tendrils, leaves and frond-like shapes in sample 7, I have created a rather seaweed-looking border design. The spine varies in width and I had a lot of fun stitching the pebbles inside the spine; just adding different shapes as they came to me was very enjoyable. Again, I urge you to relax and let it all happen.
Sample 7
Sample 8
What fun to have leaves, fronds, spirals and simple feather plumes inside and outside a circle. I personally like to stitch clockwise, so I started at the top of the circle first and stitched around, then worked to my right adding the various shapes on the outside first. When the outside was completed, I stitched the simple feathers inside.

So that’s it from me. Enjoy your feathers and your quilting journey!
Happy quilting,
X Deb
If you would like to see more of Deborah’s work, visit her website: www.deborahlouie.com.au